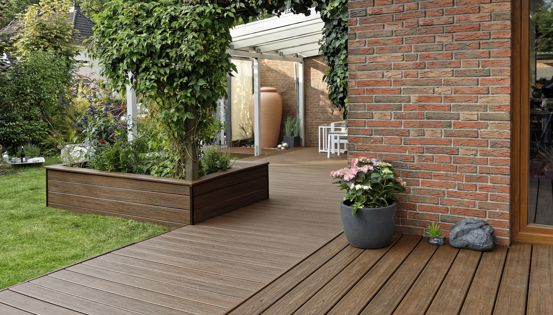

A ledger board is a horizontal lumber piece that attaches to the side of your house, serving as the primary anchor for your deck. To hold it firmly, you need ledger board fasteners—specialized screws or bolts that ensure this critical structural connection remains stable and secure.
When working with ledger board fasteners, there are a few fast facts to keep in mind:
- Material Matters: Ensure your fasteners are designed for pressure-treated wood.
- Depth is Essential: Your bolts or screws should penetrate beyond the board they're affixing to by at least ½” to ensure they hold firmly.
- The Importance of Pre-drilling: If you’re using ½” lag bolts, remember first to make a 5/16” pilot hole. This prevents wood splitting during the main installation.
- Installation Strategy: Adopt a zig-zag pattern when placing fasteners to aid in distributing the deck's weight effectively.

Image courtesy of American Wood Council
Stay tuned to discover the best choice between through bolts and lag bolts, as well as explore your decking screw options to complete your decking project successfully. By the end of our guide, you’ll be well on your way to laying the foundation for a safe and durable deck.
Choosing Between Through Bolts vs. Lag Bolts

Two popular choices of deck bolts are through bolts and lag bolts, with each option offering unique features and advantages.

Through bolts go all the way through the materials you're joining, making them visible on both sides. Think of them as a bridge connecting two separate pieces.
Advantages of Through Bolts
- Incredibly strong and distribute weight effectively, ensuring your deck remains sturdy.
- Unlike lag bolts, they tend to stay tight over time, giving you peace of mind.
- They are less likely to damage the surrounding wood.
Disadvantages of Through Bolts
- Require larger holes that take more time and precision to drill.
- Visibility on both sides may not be ideal for every design.
- If there is no access to the backside of the through bolt then cutting into prefinished walls is required.
Lag Bolts

While not able to hold as much weight as through bolts of the same size, lag bolts are a solid and safe way to secure a ledger board, especially if you don’t’ have access to the inside portion of the wall that the ledger board is being attached to.
Advantages of Lag Bolts
- Simpler to install than through bolts.
- Can be removed more easily if necessary.
- Generally more cost-effective.
- Available in a variety of sizes and lengths to fit your needs.
- Doesn't need access to the other end of the lag bolt to install
Disadvantages of Lag Bolts:
- Might not handle as much weight as through bolts.
- If not installed correctly, they can damage the surrounding wood or gradually loosen over time.
How Many Fasteners for a Ledger Board?
The exact number of fasteners for a ledger board depends on a variety of factors. For the sake of stability and safety, you’ll always want to run the numbers to ensure you’re using the appropriate amount.
Ledger Board Fastener Requirements
The International Residential Code (IRC) outlines precise standards for ledger board fasteners. To establish a strong and compliant foundation for your deck, opt for hex-headed bolts treated to prevent rust or coated lag screws. Avoid the use of carriage or cap head bolts. It's crucial that your chosen fasteners are suitable for both the type of wood and the environmental conditions of your deck's location. Adhering to IRC guidelines not only guarantees a sturdy deck but also provides peace of mind, knowing your structure meets the required codes.

Ledger Board Fastener Spacing Schedule
Joist Length Range | Fastener Spacing on Center for ½” Lag Bolts | Fastener Spacing on Center for SDWS Timber Screws | Fastener Spacing on Center for Through/Carriage Bolts |
| 0’ to 6’ | 30” | 12” | 36” |
| 6’ to 8’ | 23” | 9” | 36” |
| 8’ to 10’ | 18” | 7” | 34” |
| 10’ to 12’ | 15” | 6” | 29” |
| 12’ - 14’ | 13” | 5” | 24” |
| 14’ - 16’ | 11” | N/A | 21” |
| 16’ - 18’ | 10” | N/A | 19” |
To utilize the ledger board fastener spacing schedule:
- First, determine your joist span.
- Use the table to find the recommended fastener spacing for each fastener type based on your joist span.
- Calculate the total number of fasteners needed for your ledger length by dividing the ledger length by the recommended spacing. Always ensure fasteners aren't placed too close to the edges.
- When calculating the total number of fasteners, it's a good practice to round up to ensure a secure connection that meets safety standards.
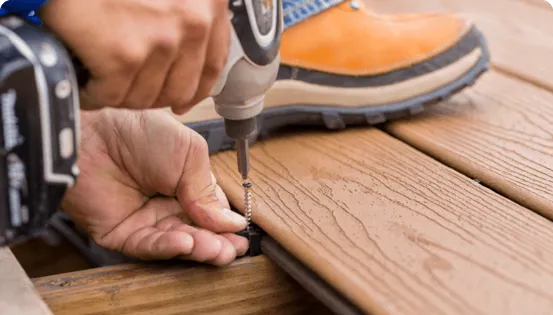
Types of Ledger Board Deck Screws
Building a strong and sturdy deck requires choosing the right materials, including the fasteners. From screws to bolts, the kind you pick impacts the life and safety of your deck. Let's dive into the different types and find out which one's best for you.
Structural Screws:

Courtesy of GRK

Courtesy of Fasten Master Ledger Lock

Courtesy of Simpson Strong Tie
Code-compliant structural wood screws are engineered to fasten a deck ledger board to the rim joist of a house with no pre-drilling. These replace lag screws and are coated with a proprietary three-step coating process that protects against corrosion (specifically for pressure-treated wood). They’re also ACQ-approved.
The built-in washer head eliminates the need for an additional washer, saving time and money. This is a very popular type of fastener used by most professional deck builders. They are available with hex head or flush heads, which are convenient when a ledger fastener happens to align with a joist. Below are a few of the more popular brands.
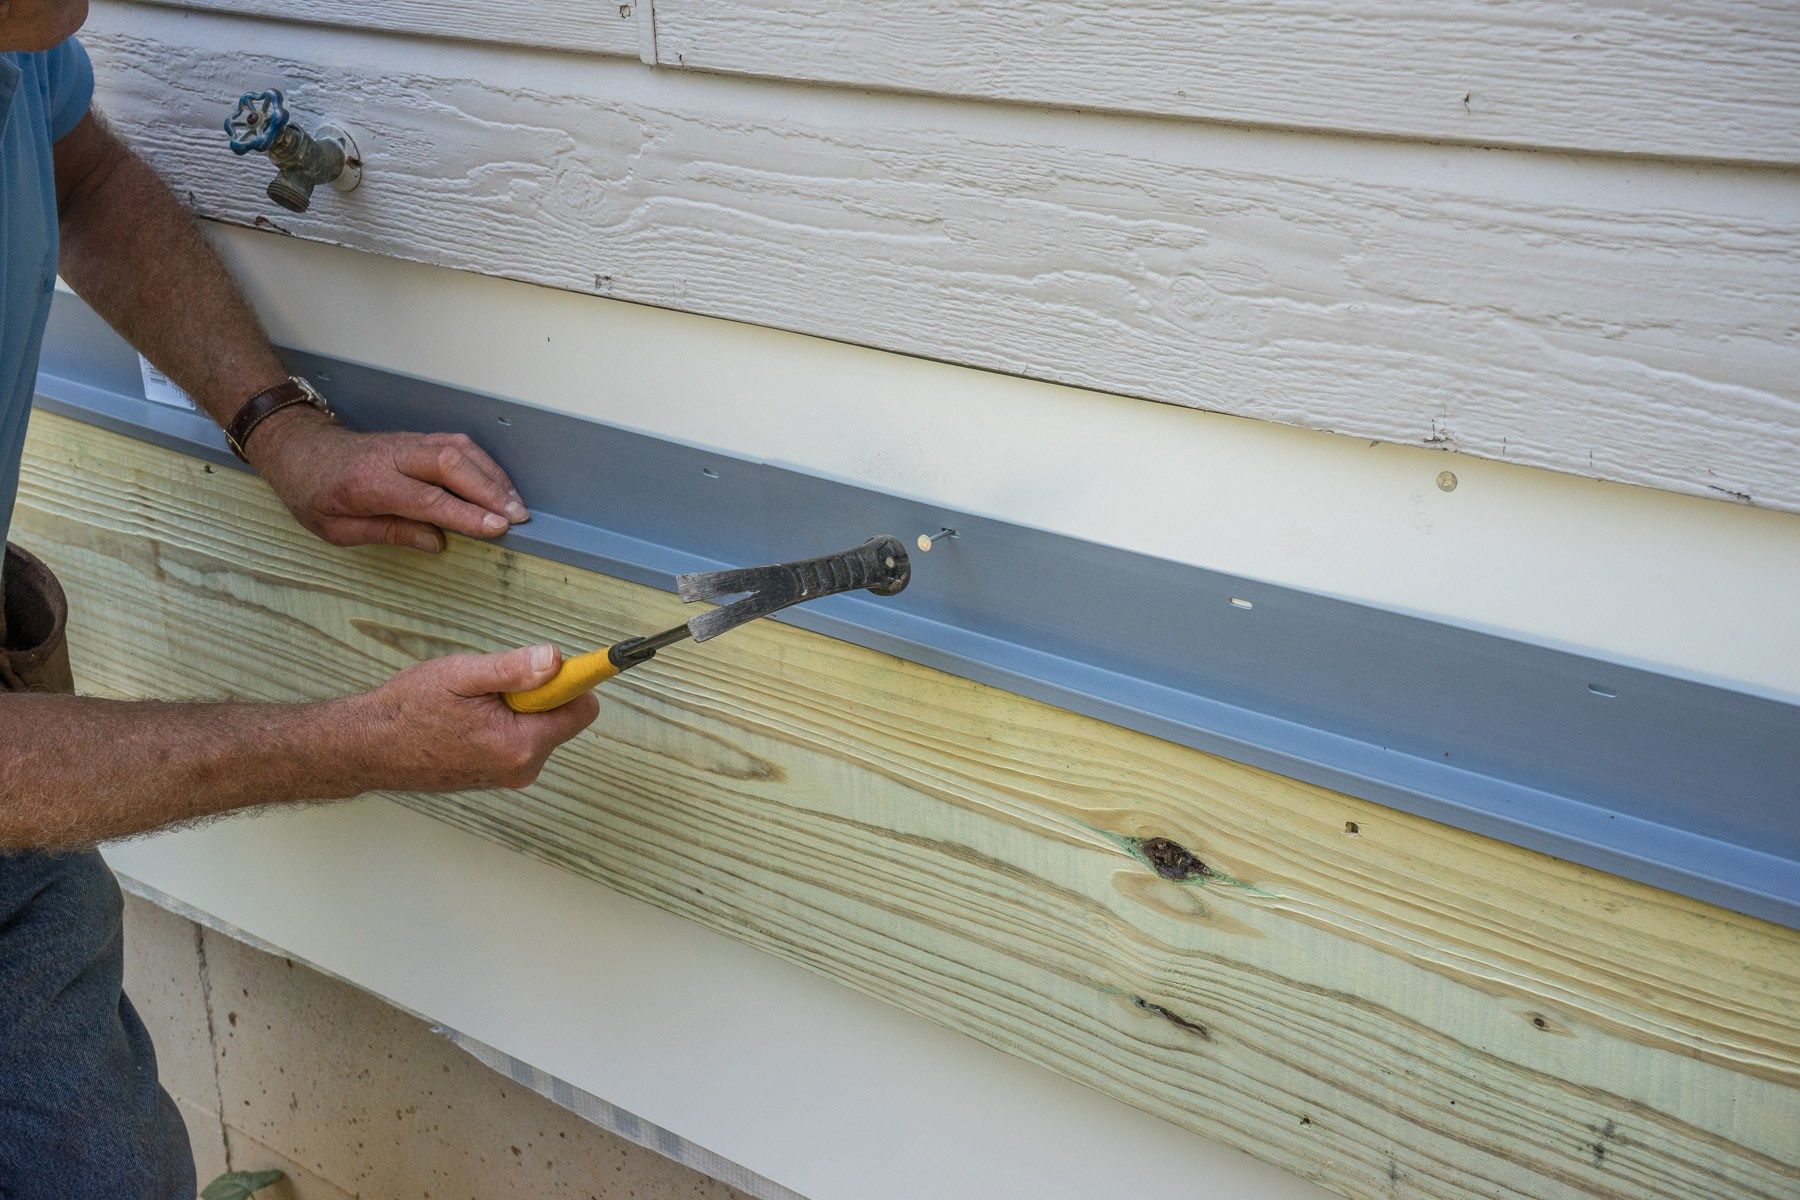
Concrete Expansion Bolts:

Sleeve anchors are a versatile type of hardware device commonly used in deck construction projects. They provide a sturdy means of fastening wooden components to concrete footings and foundations.
When installing deck ledger boards, for example, sleeve anchors attach the ledger securely to solid concrete foundation walls. They are also used to attach metal post base connectors to concrete deck footings, providing stability for the posts.
Proper sleeve anchor installation is key. It starts by drilling a hole of the appropriate size in the concrete. The sleeve anchor itself then gets inserted into the hole so its head or washer rests flush against the surface. Finally, tightening the anchor expands a shield inside which grips the concrete walls and creates a solid attachment.
Always follow the specific sleeve anchor manufacturer's instructions closely when installing.
Learn More About Ledger Boards
Understanding the importance of ledger board fasteners and choosing the right ones for your deck construction is crucial for its longevity and safety. Whether you opt for through bolts, lag bolts, or other fasteners, following code requirements and manufacturer guidelines is key.
For more in-depth guidance and additional tips, tricks, and instructions on deck building, especially when it comes to ledger boards, check out the following links: